Bathroom Plumbing Rough-In Diagrams Explained
Planning a bathroom renovation and keep hearing the word "rough-in"? It is the stage where every pipe behind your walls and under your floor gets set in place, and it happens before waterproofing, tiling or any fixtures arrive. Get it right and the rest of the renovation flows smoothly. Get it wrong and you may be pulling up brand new tiles to move a drain.
At Victory Plumbing Hobart we treat the rough-in as the make-or-break stage of any bathroom project. This guide explains what a bathroom plumbing rough-in diagram shows, which measurements matter, why pipe placement must be right before the tiler starts, and the Tasmanian rules that decide who is allowed to do the work.
What Is a Bathroom Plumbing Rough-In?
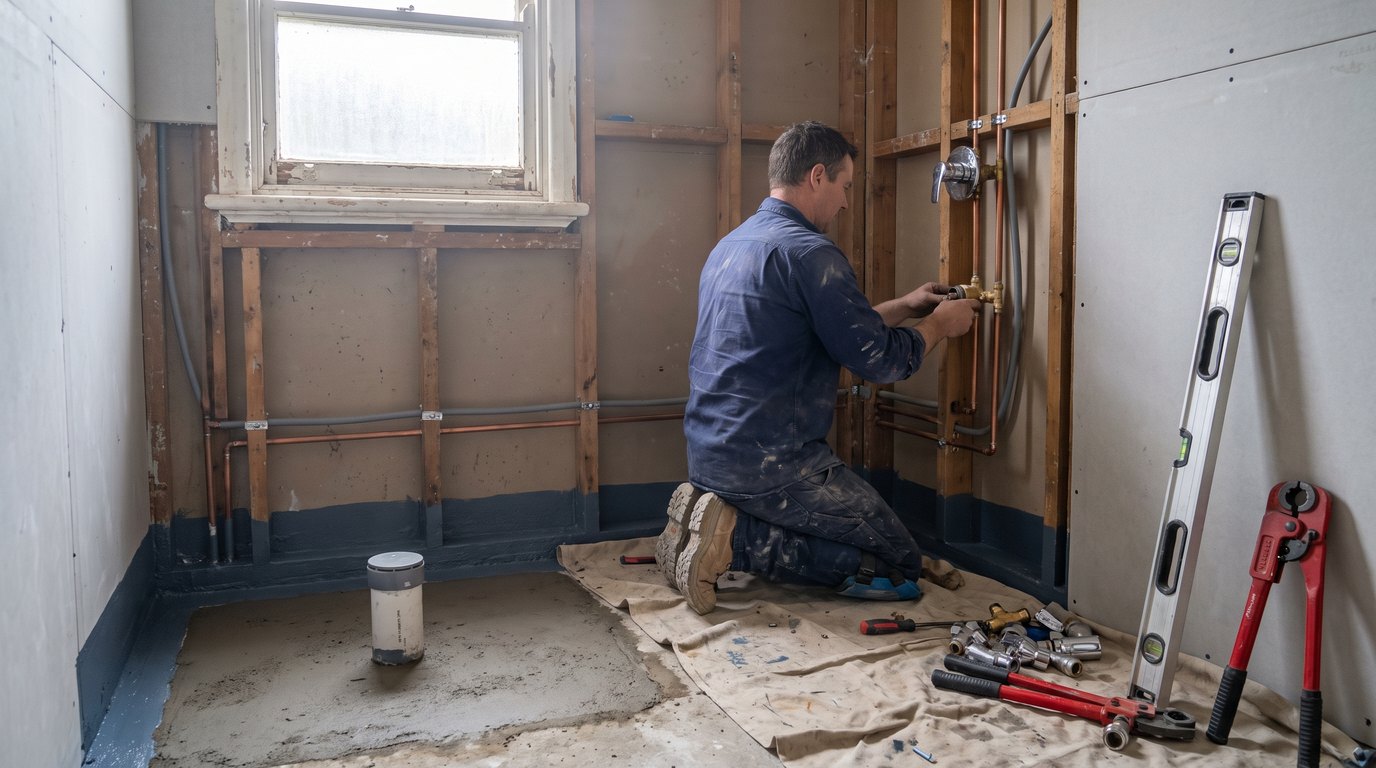
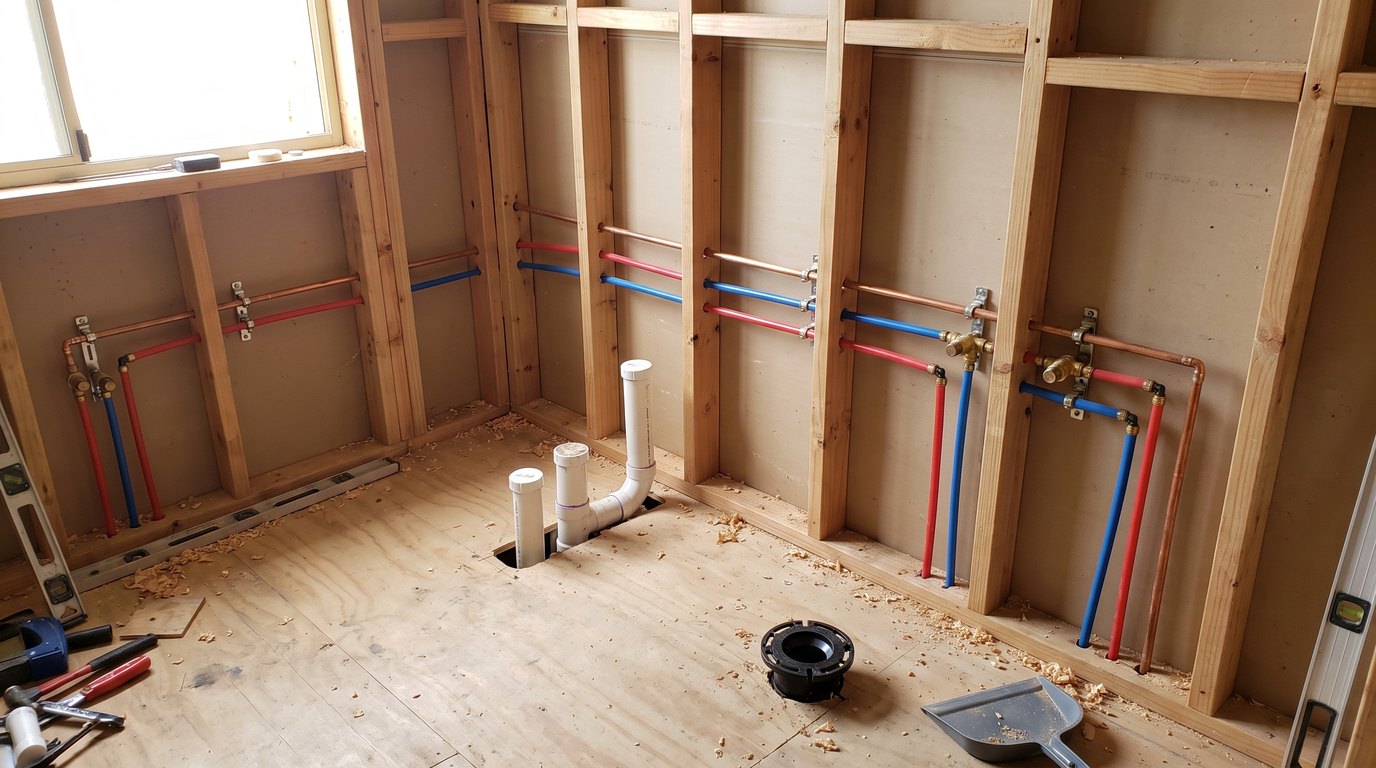
The rough-in is the first fix stage of bathroom plumbing. Your plumber installs the water supply lines, waste pipes and vent connections while the wall frames and floor structure are still open and accessible.
Nothing is connected to a fixture yet. Supply pipes are capped off and pressure tested, drain openings are positioned and sealed, and everything is left ready for the fit-off stage after tiling, when the toilet, taps, vanity and shower fittings are finally installed.
The rough-in happens early for a simple reason. Once the waterproofing membrane goes down and the tiles go on, every pipe position is locked in place. Anything in the wrong spot after that point becomes expensive to fix.
What a Rough-In Diagram Actually Shows
A rough-in diagram is a working drawing of where every pipe starts, runs and terminates in your bathroom. It is the map your plumber, builder and tiler all work from, and it keeps the trades from tripping over each other.
A good diagram covers a handful of key details. Set-out distances show how far the centre of each waste sits from the finished wall. Stub-out heights show where the hot and cold supply pipes emerge from the wall for the basin, shower and bath. Drain locations and pipe sizes are marked for the toilet, shower and vanity, along with the spacing between hot and cold lines and the position of any vent piping.
One detail trips people up constantly: measurements are taken from the finished surfaces, not the bare frame. Wall sheeting, waterproofing and tiles all add thickness, so a measurement taken off the stud will land your tapware in the wrong spot once the wall is built up.
The diagram also works off the finished floor level rather than the bare structural floor. In a renovation, screed, membrane and tiles can raise the floor noticeably, and in older Hobart homes the existing floor is often not level to begin with. Your plumber allows for all of this when setting drain heights, which is why the rough-in looks oddly proud or recessed until the floor build-up goes in around it.
The Three Systems Behind Your Bathroom Walls
Every bathroom runs on three connected systems, and the rough-in has to get all three right. The water supply system delivers hot and cold water under pressure to each fixture through copper or PEX pipework.
The drainage system carries waste water away using gravity. Each fixture drains through its own water trap, which holds a small plug of water that stops sewer gases entering the room, and the branch pipes fall gently towards the main drain.
The vent system is the one most people have never heard of. Vent pipes let air into the drainage system so water flows smoothly and traps do not get siphoned dry. Poor venting is a common cause of gurgling drains and mystery smells in renovated bathrooms.
Why You Cannot Trust a Generic Diagram from Google
Search for a bathroom rough-in diagram and most of what you will find is American. Those charts quote the classic 12 inch toilet rough-in, imperial stub-out heights and references to US plumbing codes that have no standing here.
Australian plumbing is metric and works to AS/NZS 3500, the national plumbing and drainage standard. The 2025 edition applies to plumbing work commenced on or after 20 October 2025, so even recent Australian articles can reference superseded requirements.
More importantly, the reliable numbers for your bathroom come from the specification sheets of the actual fixtures you have chosen. Toilet pans differ in their set-out distance, wall-hung vanities differ in where they need water and waste, and shower mixers differ in recommended heights. This is exactly why a good plumber asks you to lock in your fixture choices before rough-in day, not after.
Pipe Placement Before Tiling: Why It Must Be Right the First Time
A bathroom renovation follows a strict sequence. Rough-in comes first, then any required inspection, then wall sheeting, then waterproofing, then tiling, and finally fit-off. Each layer seals in the one before it.
Waterproofing is its own regulated trade requirement under AS 3740:2021, and the membrane must be continuous to do its job. Moving a waste pipe or supply line after tiling means cutting through both tiles and membrane, then patching and recertifying the waterproofing. What would have been a ten minute adjustment at rough-in becomes days of rework.
Some fixtures are especially unforgiving. A wall-hung vanity puts its plumbing on full display underneath, so a crooked or off-centre stub-out is permanently visible. A freestanding bath with a floor-mounted filler needs its supply pipes positioned within a few millimetres, because there is no cabinet to hide an error.
Who Can Do Bathroom Rough-In Work in Tasmania?
In Tasmania, plumbing work must be carried out by a licensed plumber, with only a narrow list of exceptions. The state regulator, Consumer, Building and Occupational Services (CBOS), classifies plumbing into risk categories, and homeowners may only do certain low-risk Category 1 tasks on their own home, such as like-for-like replacement of tapware or a shower head.
Rough-in work sits well beyond that list. It involves altering sanitary drainage and water services, which is licensed work regardless of how confident a renovator you are.
Much of the plumbing in a typical bathroom renovation is also classed as notifiable or permit work. Notifiable work needs a Certificate of Likely Compliance from your council's permit authority before it starts, and on completion your plumber provides a standard of work certificate, arranges any required inspection and lodges an as-constructed drainage plan where one is required. That paperwork protects you when you sell, because unapproved plumbing has a habit of surfacing in building inspections at the worst possible time.
Common Rough-In Mistakes We See in Hobart Bathrooms
The same handful of rough-in problems turn up again and again. Measuring from the wall frame instead of the finished wall surface is the classic, and it throws every set-out in the room.
Choosing fixtures after the rough-in is the next one. If the pan you fall in love with has a different set-out to the one the pipes were placed for, something has to give, and it is usually your budget.
Insufficient fall on waste pipes causes slow draining and blockages that no amount of plunging will fix. Skipped or undersized venting causes gurgling and smells. And in many of Hobart's older weatherboard and brick homes, original drainage that has been extended several times over the decades may need upgrading before it can legally or practically serve a new layout, which is far better discovered at planning stage than mid-renovation.
Questions to Sort Out Before Rough-In Day
A little preparation before the plumber arrives saves a lot of compromise later. First, lock in every fixture: the exact pan, basin, mixers, shower rail and bath, with spec sheets in hand. Placeholder choices lead to placeholder pipe positions.
Second, decide how much of the layout is actually changing. Keeping the toilet, shower and vanity close to their existing positions usually keeps drainage work simpler and the budget tighter. Relocating fixtures across the room means new drainage runs, more floor access and often a permit conversation, so it pays to know early whether the new layout justifies it.
Third, think past this renovation. If a second bathroom, laundry upgrade or wall-hung upgrade is on the cards down the track, mention it. Allowing for future connections while the walls are open costs very little compared to opening them again in five years.
Can a Toilet, Shower and Basin Share the Same Drain?
This is one of the most common questions renovators ask, and the short answer is yes. The fixtures in a bathroom normally discharge into a shared drainage line.
The catch is in the detail. Each fixture needs its own trap, the branch pipes must be correctly sized, the fall has to be right and the system needs proper venting, all in line with AS/NZS 3500. Whether your existing drain can accept a new layout depends on its size, condition, depth and fall, which is something a licensed plumber can assess quickly with a site inspection.
Get the Rough-In Right and the Rest Follows
The rough-in is invisible in your finished bathroom, and that is exactly the point. When the pipes are placed correctly, the waterproofing seals properly, the tiles go down once, and every fixture lands exactly where the design intended.
The best time to involve a plumber is when you are still sketching layouts, not when the tiler is booked. Our bathroom renovation plumbing team in Hobart can review your layout, prepare the rough-in to suit your exact fixtures and handle the compliance paperwork from start to finish. You might also find our complete bathroom renovation guide and our advice on choosing a bathroom renovation contractor useful while you plan.
Every home is different, so we always confirm the scope of work with a site inspection and a written quote before anything starts. If a bathroom renovation is on your horizon, get the plumbing conversation going early. It is the cheapest insurance a renovation can buy.