How to Fix a Leaking Tap: A Step-by-Step Guide
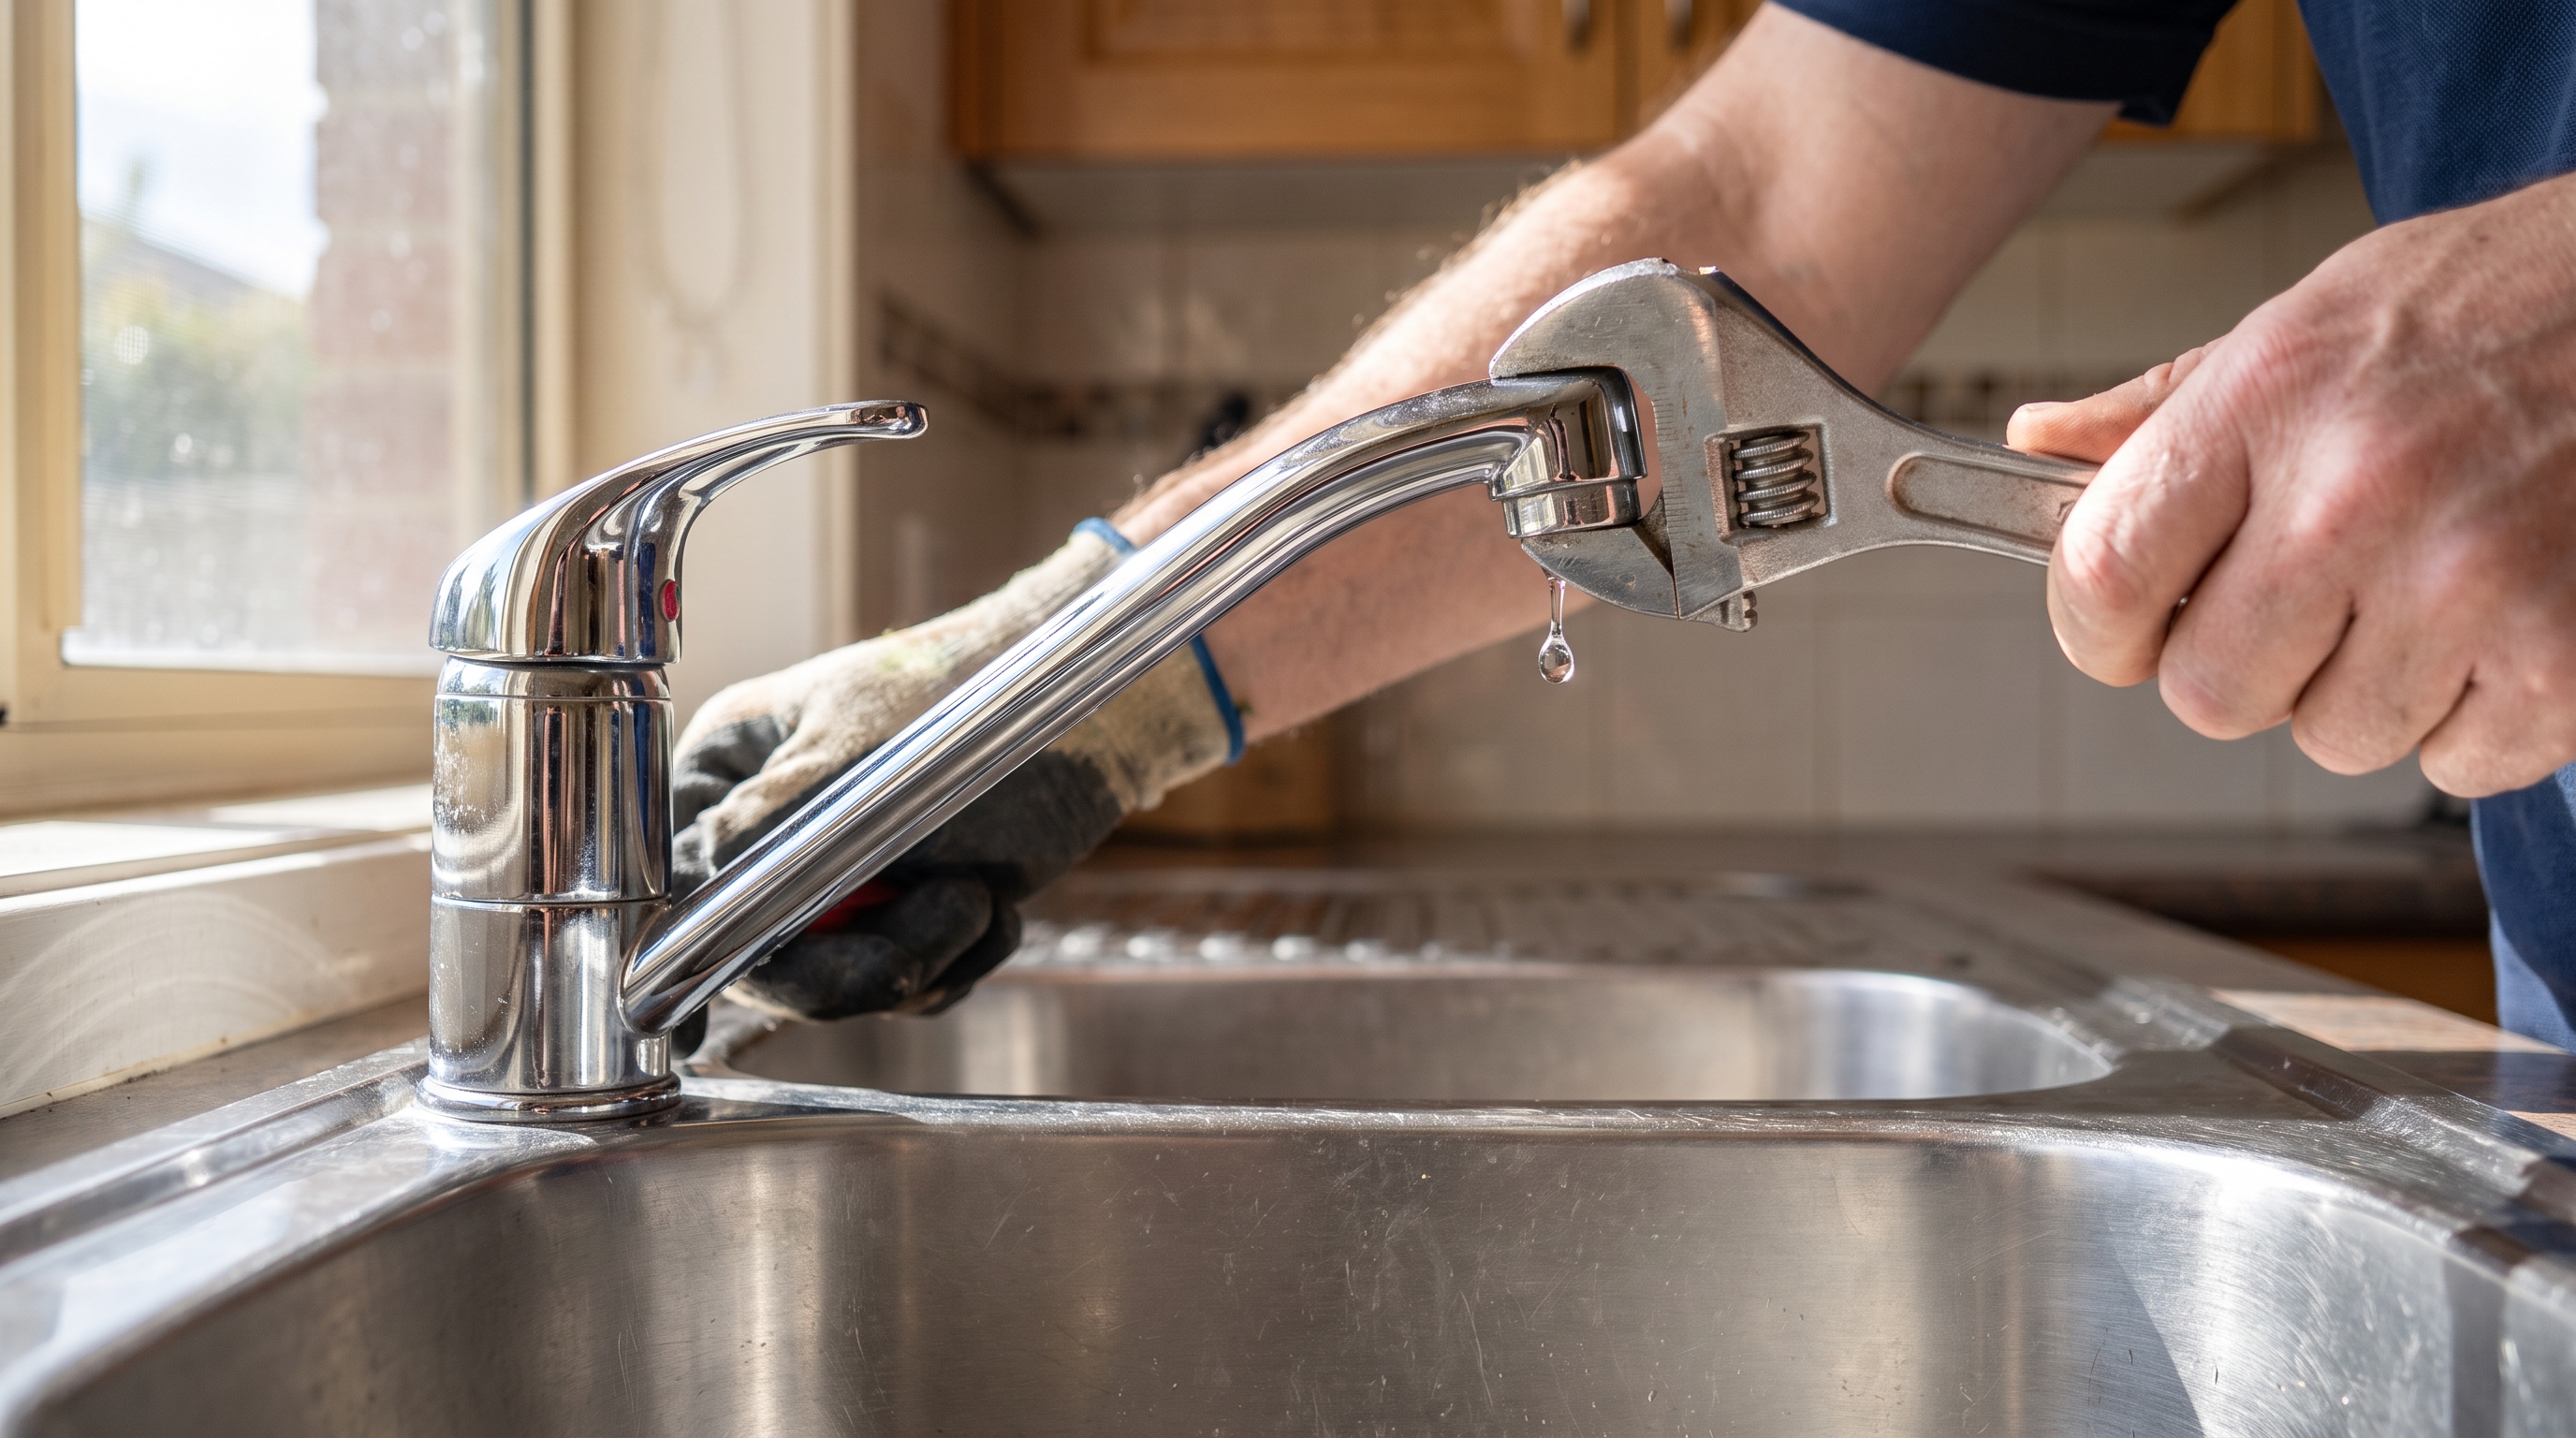
That steady drip from your kitchen or bathroom tap is more than an annoyance. Left alone, a leaking tap wastes water, stains your sink and can point to a worn part that only gets worse over time. The good news is that many dripping taps come down to a cheap, worn washer or cartridge — and fixing one is a job plenty of Hobart homeowners can tackle themselves.
Victory Plumbing Hobart put together this step-by-step guide to help you diagnose the problem, make a safe repair, and know when it's time to call in a licensed plumber. Follow it in order and take your time.
Why a Dripping Tap Is Worth Fixing
A single dripping tap can waste thousands of litres of water a year, which adds up on your TasWater bill for no benefit at all. It's a small fault with a surprisingly steep long-term cost.
There's also the damage side of things. A constant drip can stain fixtures, wear away tap seats, and — if the leak is hidden under the sink or behind a wall — lead to damp, mould or rot. Sorting a leak early is almost always cheaper than dealing with what it causes later.
What Causes a Tap to Leak
Most taps leak for one of a few common reasons. Knowing the likely culprit makes the repair much quicker.
The usual causes are a worn rubber washer or jumper valve, a perished O-ring, a failed ceramic cartridge in a mixer tap, or a corroded valve seat that no longer seals cleanly. High water pressure and water hammer can also wear internal parts out faster, which is worth keeping in mind in some older Hobart homes.
If you're not sure whether the fault sits with the washer or the valve, it's worth working through the symptoms before you start — a drip from the spout usually points to a washer or cartridge, while water escaping around the handle often means a worn O-ring. You'll also find leaks are common in period properties, something we cover in our guide to common plumbing problems in older Hobart homes.
Tools and Parts You'll Need
You don't need a van full of gear to fix a standard tap. Most repairs call for a flat-head and a Phillips-head screwdriver, an adjustable spanner (shifter), a cloth to protect the tap finish, and possibly an Allen key.
For parts, you'll want a replacement tap washer or jumper valve, or a matching ceramic cartridge for a mixer tap. The simplest way to get the right part is to remove the old one first and take it to your local hardware store or plumbing supplier to match it exactly.
How to Fix a Leaking Tap: Step by Step
Work through these steps in order. If anything feels stuck or beyond a simple washer swap, stop and call a licensed plumber rather than forcing it.
1. Turn off the water supply
Before you touch anything, isolate the water. Many taps have small isolation valves on the pipes directly under the sink — turn them off with a flat-head screwdriver. If there aren't any, shut off your main stop tap (often near the water meter or outside).
Once the water is off, turn the tap on to drain any water left in the pipe and confirm the flow has stopped.
2. Plug the sink
Put the plug in, or cover the drain with a cloth. This stops small screws, washers and nuts from disappearing down the drain while you work — a simple step that saves a lot of frustration.
3. Remove the tap handle
Prise off the decorative cap on top of the handle (often marked with a red or blue H/C indicator) to expose the retaining screw. Undo the screw and gently lift the handle off.
If the handle is stuck, wiggle it carefully rather than levering hard, so you don't crack the fitting.
4. Remove the headgear or cartridge
Using your spanner, unscrew the tap bonnet or retaining nut to reveal the internal parts. Wrap a cloth around the tap first to protect the chrome from the spanner.
On a traditional tap you'll expose the headgear, O-ring and jumper valve. On a mixer tap you'll find a ceramic cartridge instead. Note how everything sits so you can reassemble it the same way.
5. Replace the worn part
For a traditional compression tap, the drip is usually the washer at the base of the jumper valve. Undo the small screw holding it and fit a new washer of exactly the same size. It's also worth replacing the O-ring while you're in there.
For a mixer or ceramic-disc tap, replace the whole cartridge with a matching one. Don't try to patch a worn cartridge — a correct replacement is the reliable fix.
6. Reassemble the tap
Refit the valve or cartridge, screw the assembly back together and reattach the handle and cap. Tighten firmly but don't overtighten, as forcing the parts can damage the new washer or crack the fitting.
7. Turn the water back on and test
Slowly reopen the isolation valves or main stop tap and let the tap run for a few seconds. Turn it off and check for drips. If the tap is now sealing cleanly, the repair is done.
If it still drips after a fresh washer or cartridge, the valve seat itself may be worn or corroded and need re-seating — which is a good point to bring in a professional.
When to Call a Licensed Plumber
Replacing a tap washer is a manageable DIY job, but not every leak is that simple. In Tasmania, most plumbing work must be carried out by a licensed plumber, and simple maintenance like swapping a worn washer is generally the exception rather than the rule. If you're at all unsure, it's safest to have a licensed professional handle it.
It's time to call in the experts if the tap keeps dripping after you've replaced the washer or cartridge, if water is leaking from the base of the tap or from inside the wall, if you can't shut off the water, or if you're dealing with persistent water hammer or low pressure. Our residential plumbing team in Hobart can repair or replace tap fittings quickly and correctly, so a small leak doesn't turn into a bigger problem.
We can't promise a price or outcome without seeing the job, but we can inspect the fault, explain your options clearly and get your tap sealing properly again.
Frequently Asked Questions
Can I fix a leaking tap myself?
In most cases, yes — replacing a worn washer or cartridge is a common DIY repair, provided you isolate the water first and take care not to damage the fittings. If the leak continues, or the job involves more than a simple washer swap, it's best to call a licensed plumber.
Why is my tap dripping when it's turned off?
A tap that drips when fully closed usually has a worn washer, a perished O-ring or a failed ceramic cartridge that can no longer form a watertight seal. A corroded valve seat can cause the same problem, even with a brand-new washer fitted.
How do I stop a tap leaking from underneath?
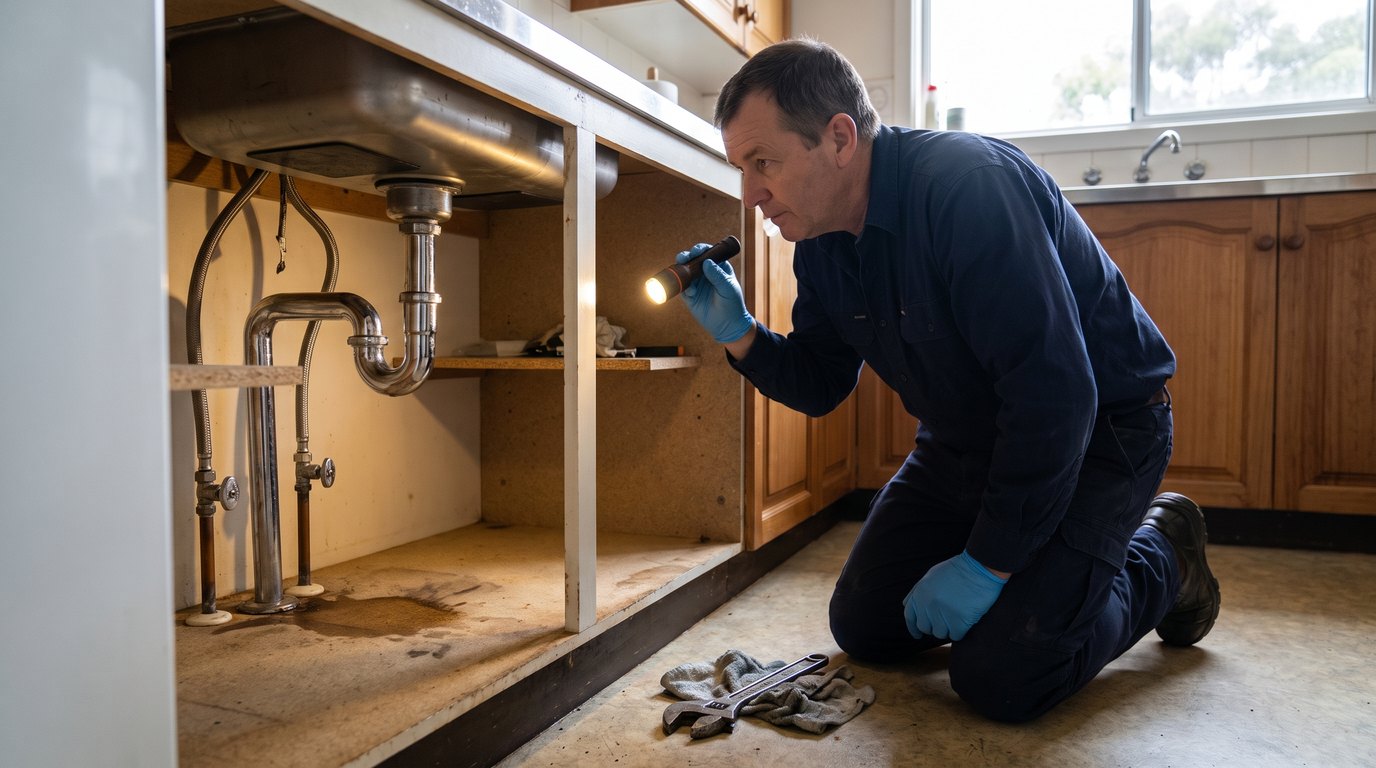
A leak from the base of the tap or underneath the sink often points to a worn O-ring or a loose connection rather than the washer. Check and tighten the fittings, and if the leak persists, have a plumber inspect it, as under-sink leaks can quietly cause water damage.
How much does a plumber charge to fix a dripping tap?
The cost depends on the tap type, the parts required and how the fault is accessed, so it's best to ask for a quote up front. Victory Plumbing Hobart provides clear, upfront pricing before any work begins.
Get Your Leaking Tap Sorted
A dripping tap is one of the most common plumbing faults in Hobart homes — and often one of the easiest to fix. With the water isolated and the right replacement part, many homeowners can stop the drip in under an hour.
If the leak won't quit, or you'd rather leave it to a professional, Victory Plumbing Hobart is here to help. Get in touch for reliable, local tap repairs across Greater Hobart.